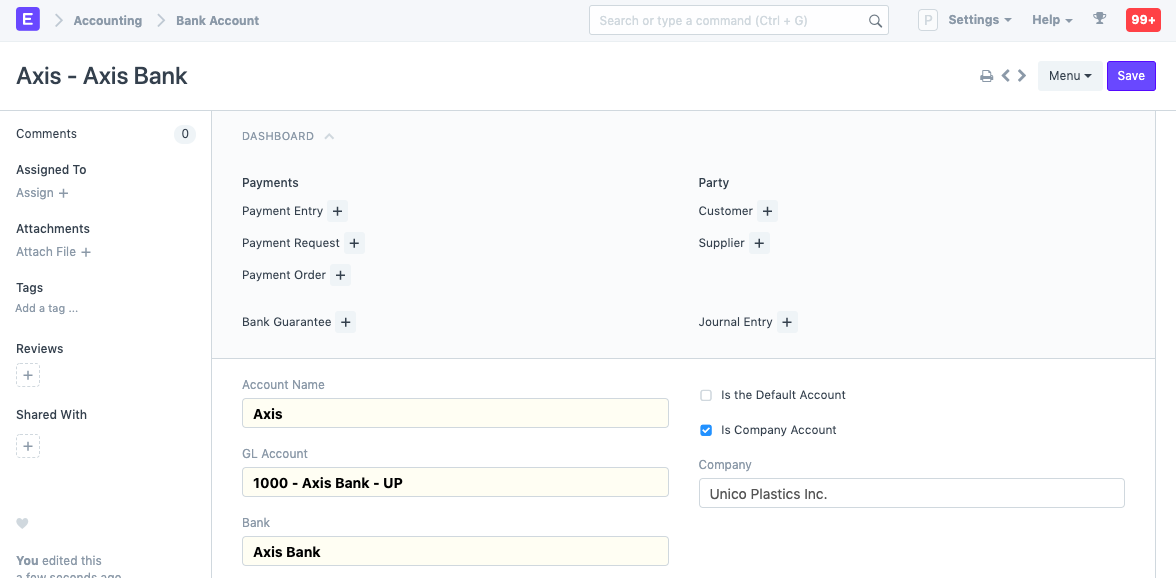
Bank Account
In ERPNext, Bank Accounts can be created for a Company as well as other parties like Customers, Suppliers etc. Doing this lets you record all the bank transactions correctly for accounting accuracy.
You can add Bank Accounts in ERPNext for Company. Supplier, Customer, or any other party with whom transactions are carried out. Then the Bank Account can be chosen in Payment Entries as a Mode of Payment.
To access Bank Account, go to:
Home > Accounting > Bank Statement > Bank Account

1. Prerequisites
Before creating and using Bank Account, it is advised to create the following first:
2. How to create a Bank Account
- Enter an Account Name.
- Link the General Ledger account set in 'Bank Accounts' in the Chart of Accounts.
- Select a Bank.
- Save.
2.1 Additional options when creating a Bank Account
- Is the Default Account: Enabling this will use this as the default bank account for all journal transactions.
- Is Company Account: Enable if this Bank Account a Company account.
- An Account Type and Account Subtype can be set for further classification in reports etc.
3. Features
3.1 Party Details
- Party Type: If this is not a company account, set who this account belongs to. The available options are: Customer, Employee, Member, Shareholder, Student, and Supplier.
- Party: Select the specific Customer/Supplier, etc.
3.2 Account Details
For reference, the following details about a Bank Account can be stored in ERPNext:
- IBAN
- Bank Account No
- Branch Code
- SWIFT number
3.3 Address and Contact
- Address: A bank may have multiple in the same locality. The bank branch address can be set here.
- Contact: A Contact Person can be linked here. Banks usually provide a dedicated contact person for corporate accounts, you can add that person's contact here.
- Website: You can add the bank's website here.
3.4 Integration Details
Last Integration Date: If your bank supports Plaid Integration, setting a date here will synchronize on the set date. This will create Bank Transactions entries.