Amazon MWS Integration
The Amazon Connector pulls Products and Sales Orders from Amazon marketplace. The sync of Products and Sales Orders is sequential. You have to sync the products before you Sync the Sales Orders.
How to Setup Amazon MWS Connector?
Setting Up Credentials in ERPNext
You can request the developer credentials from Amazon MWS once you are a registered seller on their website. For more details on the same, click here.
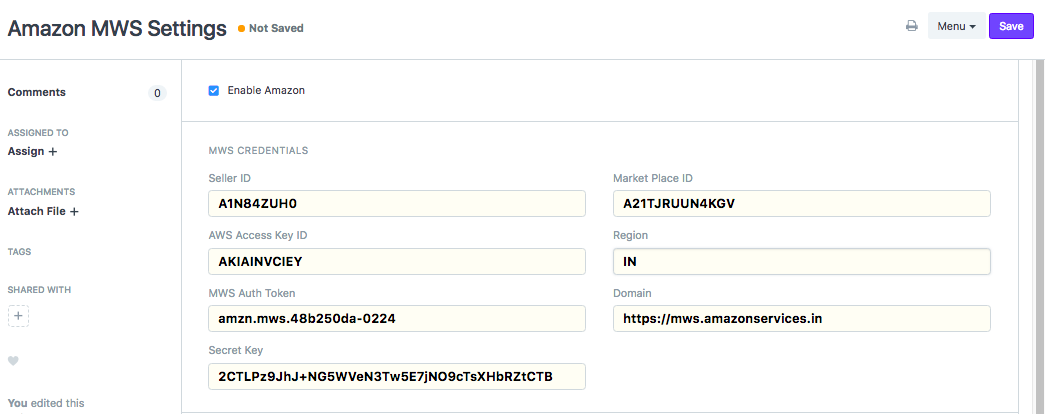
1. Setup MWS Credentials
Enter the Seller ID, AWS Access Key ID, MWS Auth Token, Secret Key, Market Place ID, Region, and Domain.

2. Set up Order Details
Set up Company, Warehouse, Item Group, Price List, Customer Group, Territory, Customer Type and Account Group.
The Account Group is used to hold Commission, taxes etc. that Amazon charges.

3. Setup Sync Configurations
Using the After Date, you can sync products and orders created after a particular date. In case you are importing a lot of historic data, it is suggested to start in the reverse chronological order of the After Date and import data in small chunks.
 After setting up all the configurations, click on Enable Amazon and save the settings. You are now ready to use the
integration.
4. Sync Products
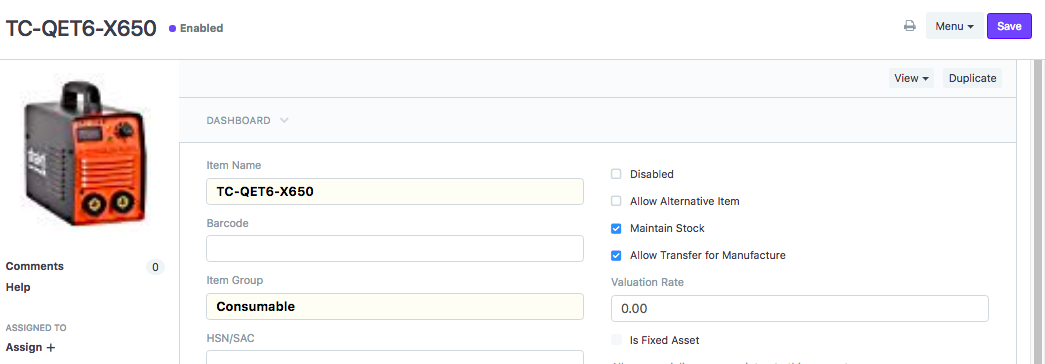
Click on this button to sync products. Once this is successful you should see your Amazon products as Items in ERPNext.


5. Sync Orders
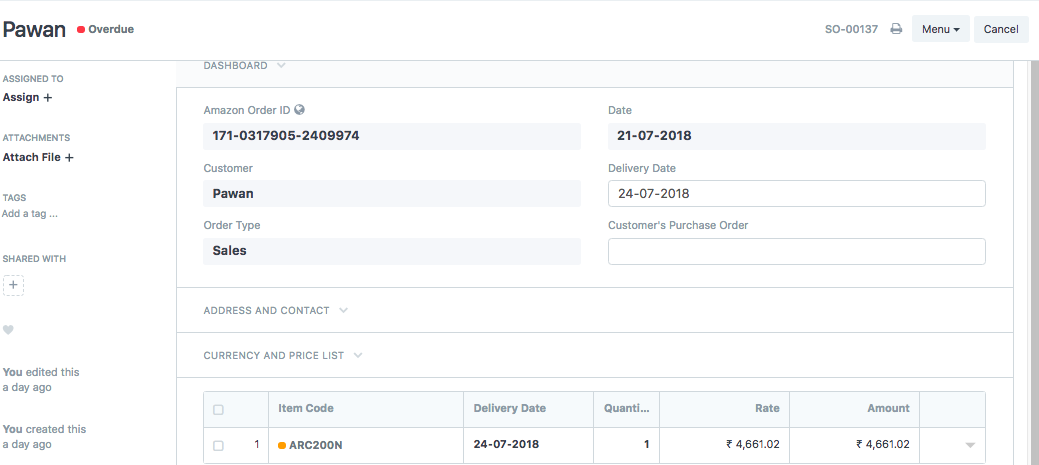
Click on this button to sync sales orders. Once this is successful you should see your Amazon Orders as Sales Orders in ERPNext. You can also set up scheduler to sync orders automatically.
In case your developer account does not have access to personally identifiable information. The customer name would be stored as a combination of the BuyerName + <Order ID>.

Note
The connector won't handle Order cancellation. If you cancelled any order in Amazon then manually you have to cancel respective Sales Order and other documents in ERPNext.