Chart Of Accounts Importer
Introduced in Version 12
When a new company is created in ERPNext, the Chart of Accounts for it is created by default with a pre-set structure. However, if you have your own Chart of Accounts, you can import it using the Chart of Accounts Importer.
It allows you to create your own Chart of Accounts according to your requirement and import it into the system.
Any existing Chart Of Accounts against that company will be overwritten. Make sure the company you are selecting doesn't have any pre-existing transactions otherwise you'll receive a validation error.
To access, go to:
Home > Getting Started > Chart of Accounts Importer
1. How to import Chart Of Accounts
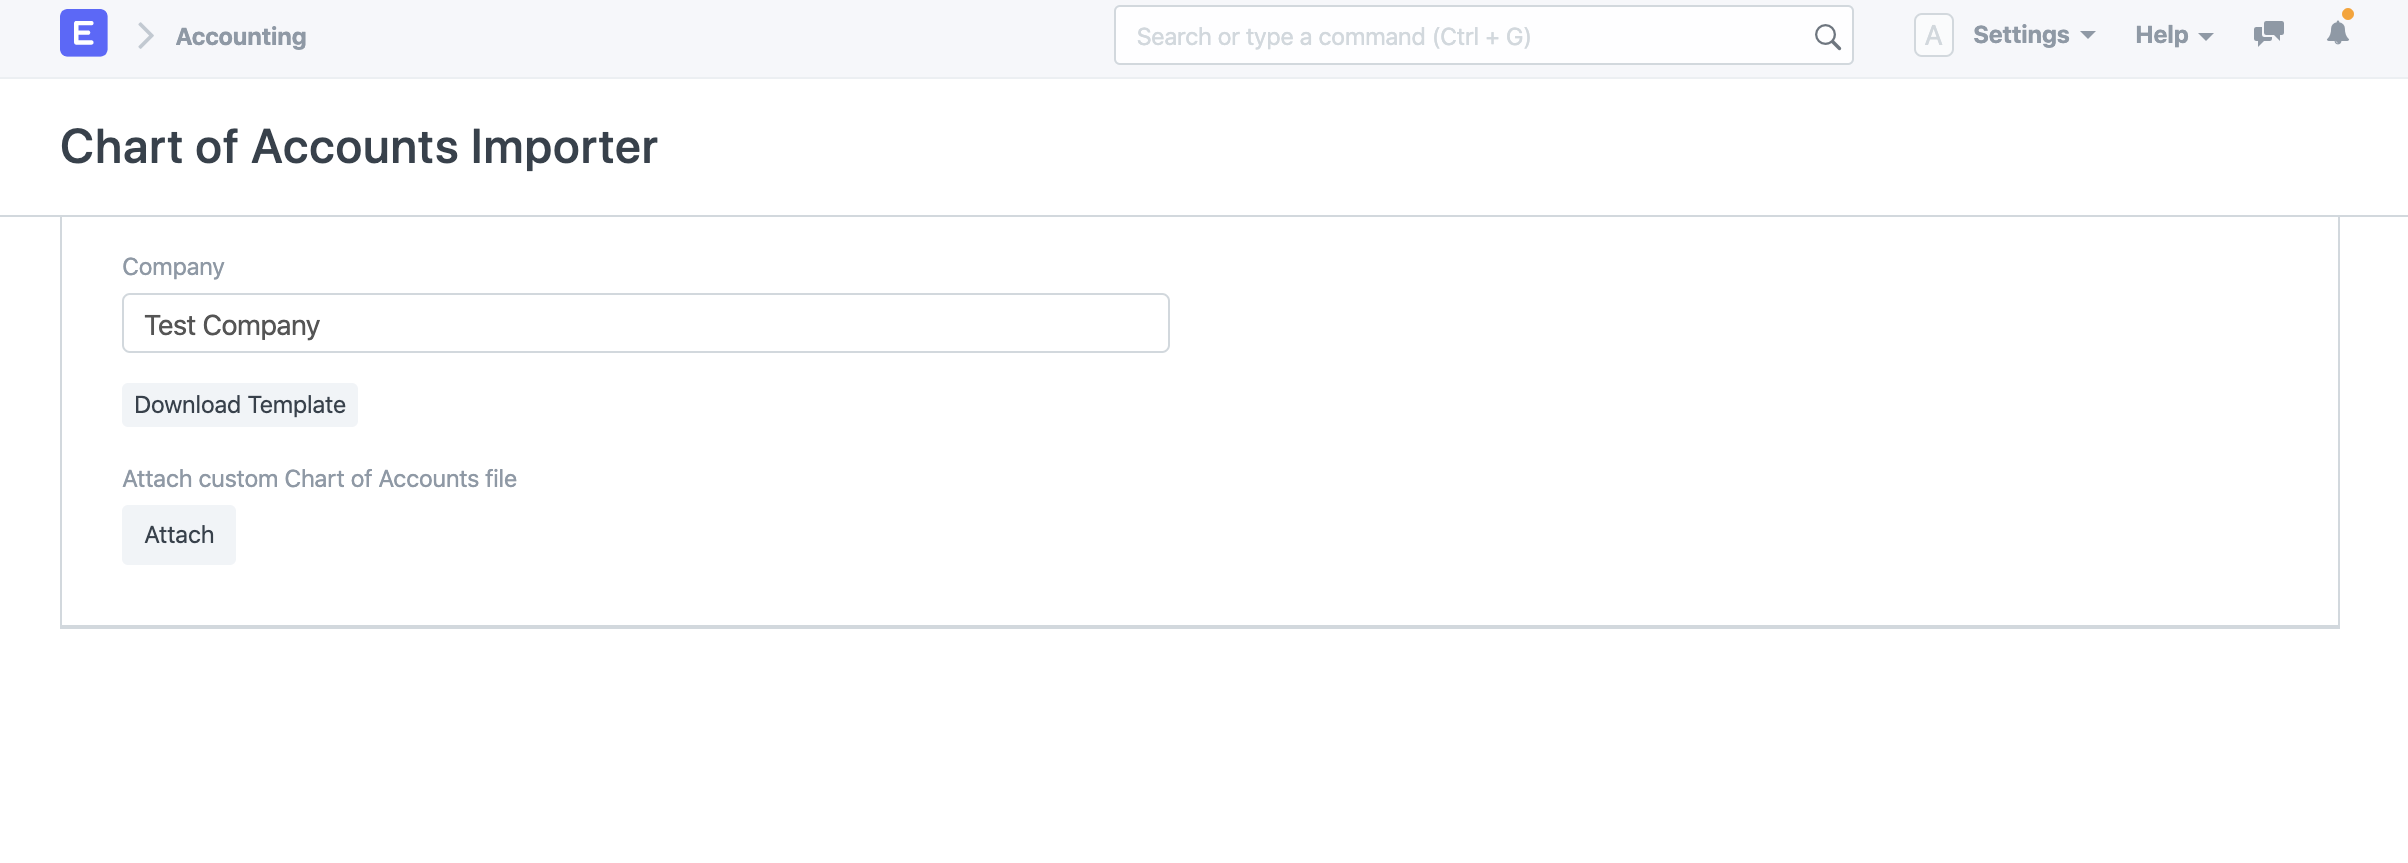
Select the Company for which you want to import the Chart of Accounts.
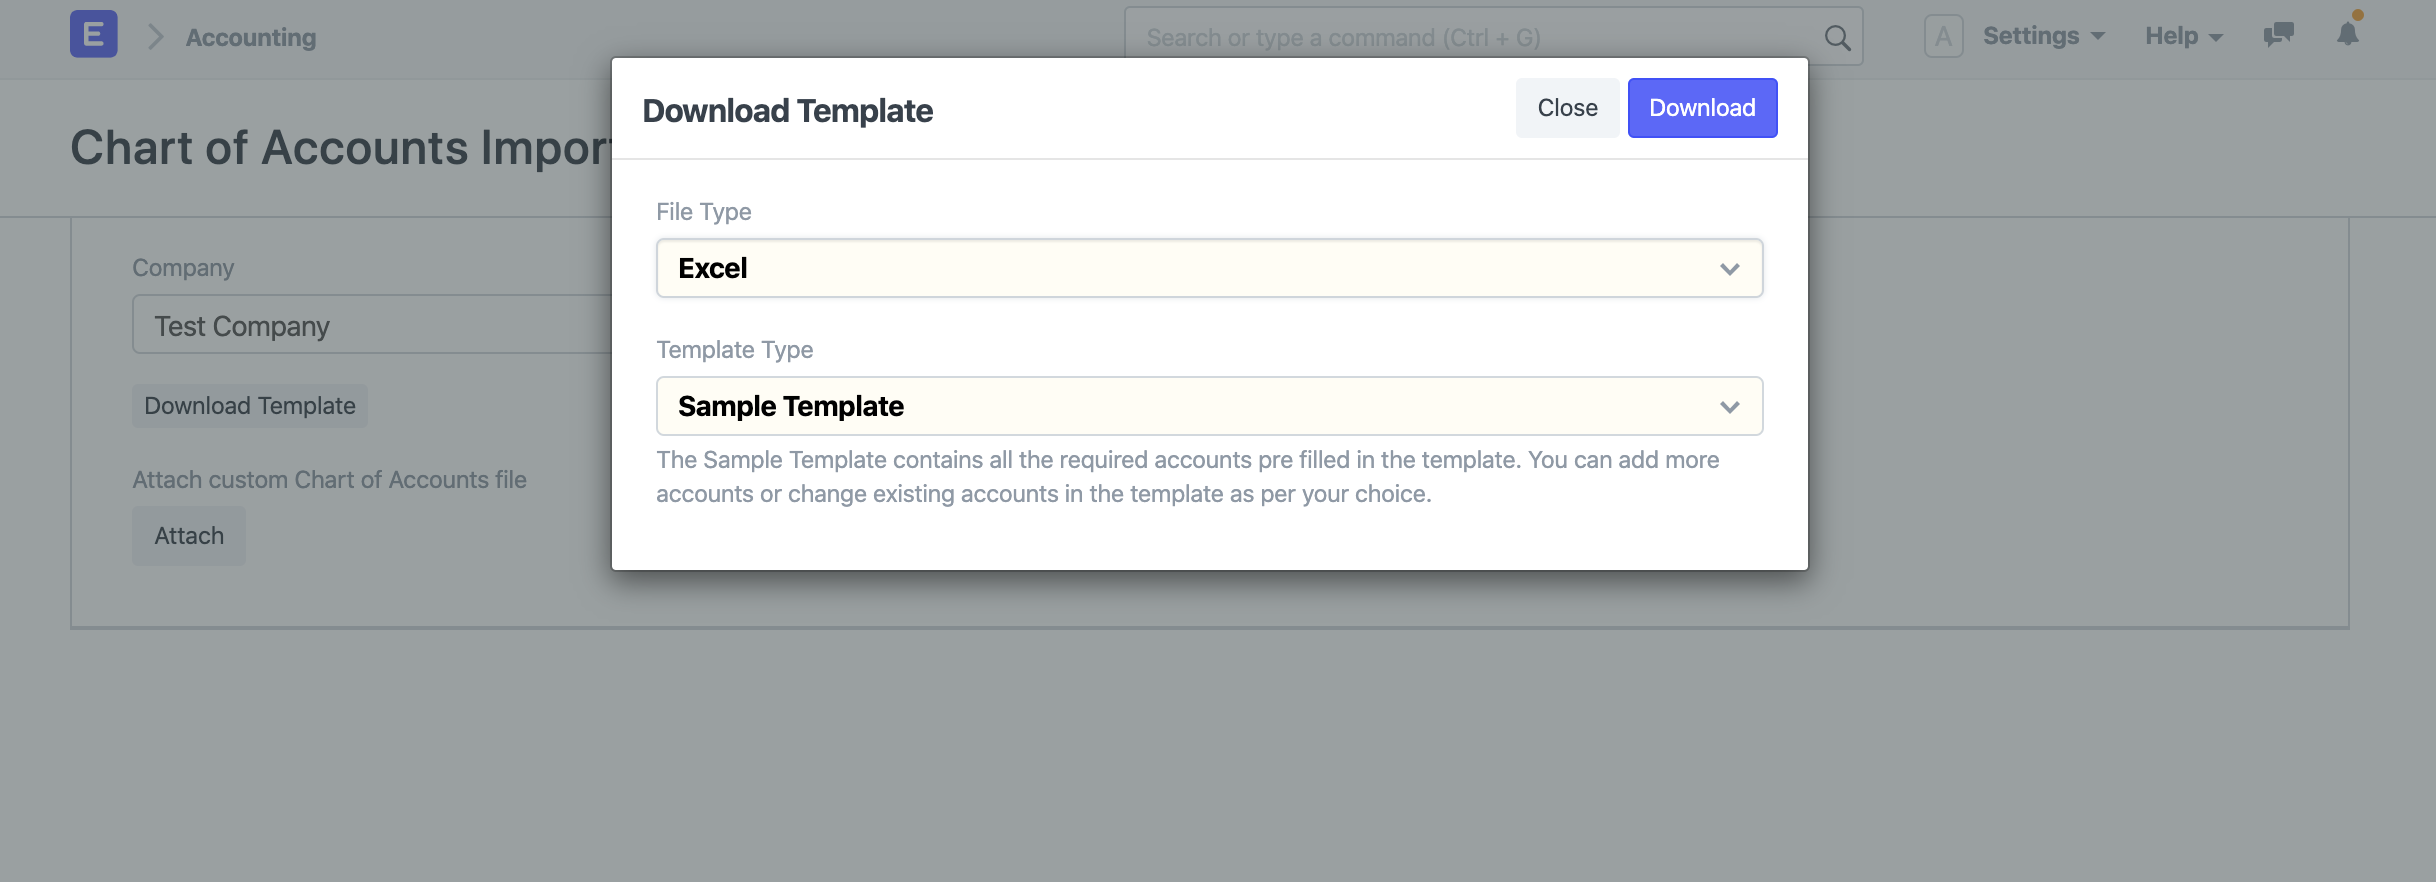
Click on "Download Template" button to download the template. Select file type in which you want to download the template. Select the template type and click on "Download". "Sample Template" contains pre-filled sample data so that you get an idea of how to fill the template. You can edit the data in "Sample Template" itself or download "Blank Template" for a fresh template.
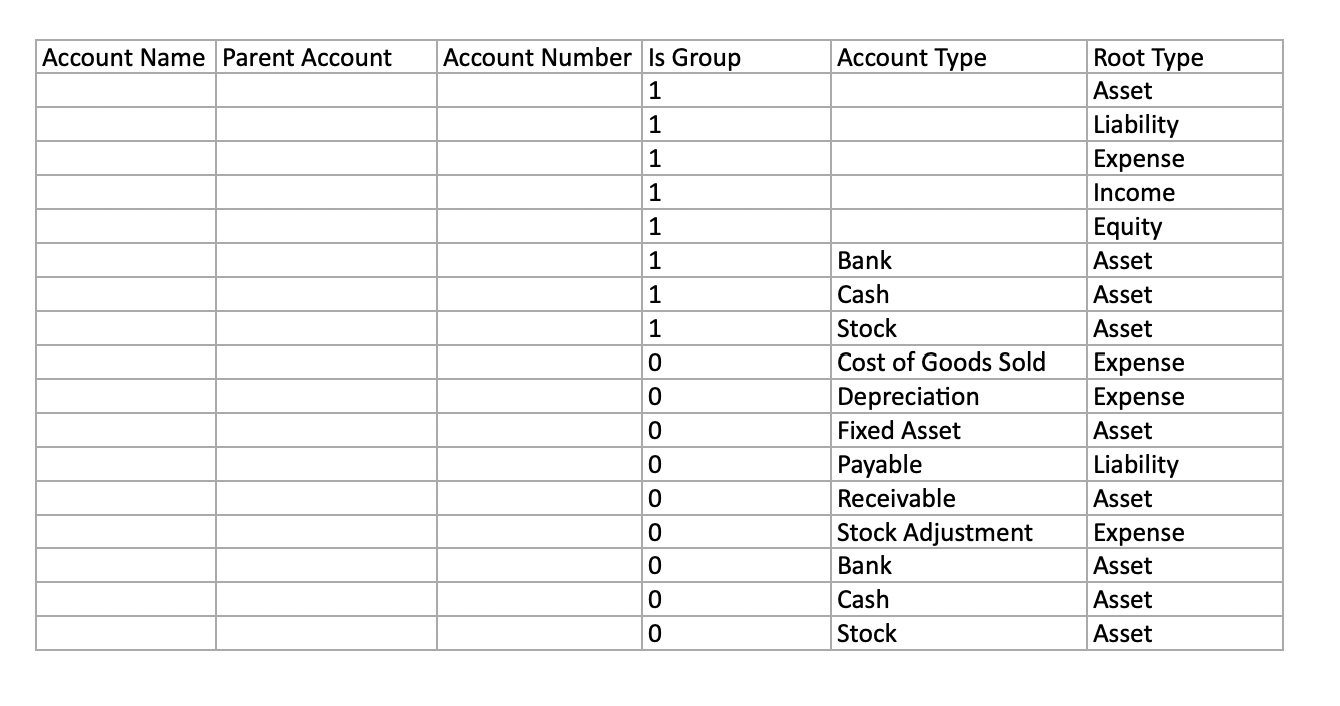
Once you download the template, fill in the details in the template as shown in the sample template below. Please make sure to make accounts for account types "Cost of Goods Sold", "Depreciation", "Fixed Asset", "Payable", "Receivable", "Stock Adjustment". Root types for these accounts must be one of Asset, Liability, Income, Expense, and Equity.
To know more about "Account Types" and "Root Types" click here click here
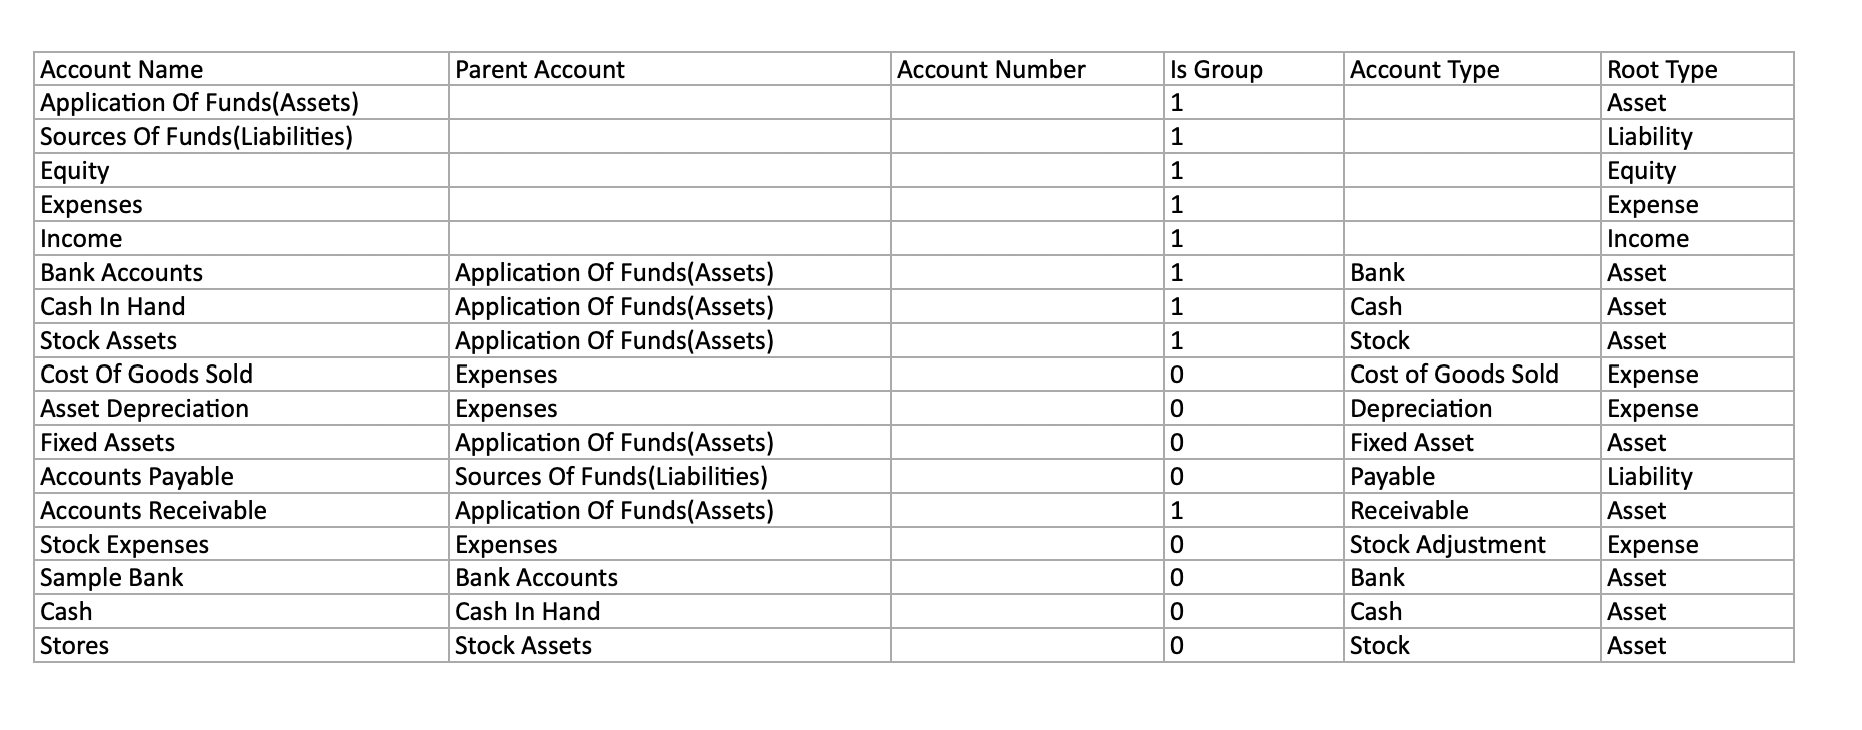
Click on "Attach" to upload the template.
Once you upload the template you'll be able to see the preview of the Chart of Accounts in the Chart Preview section.
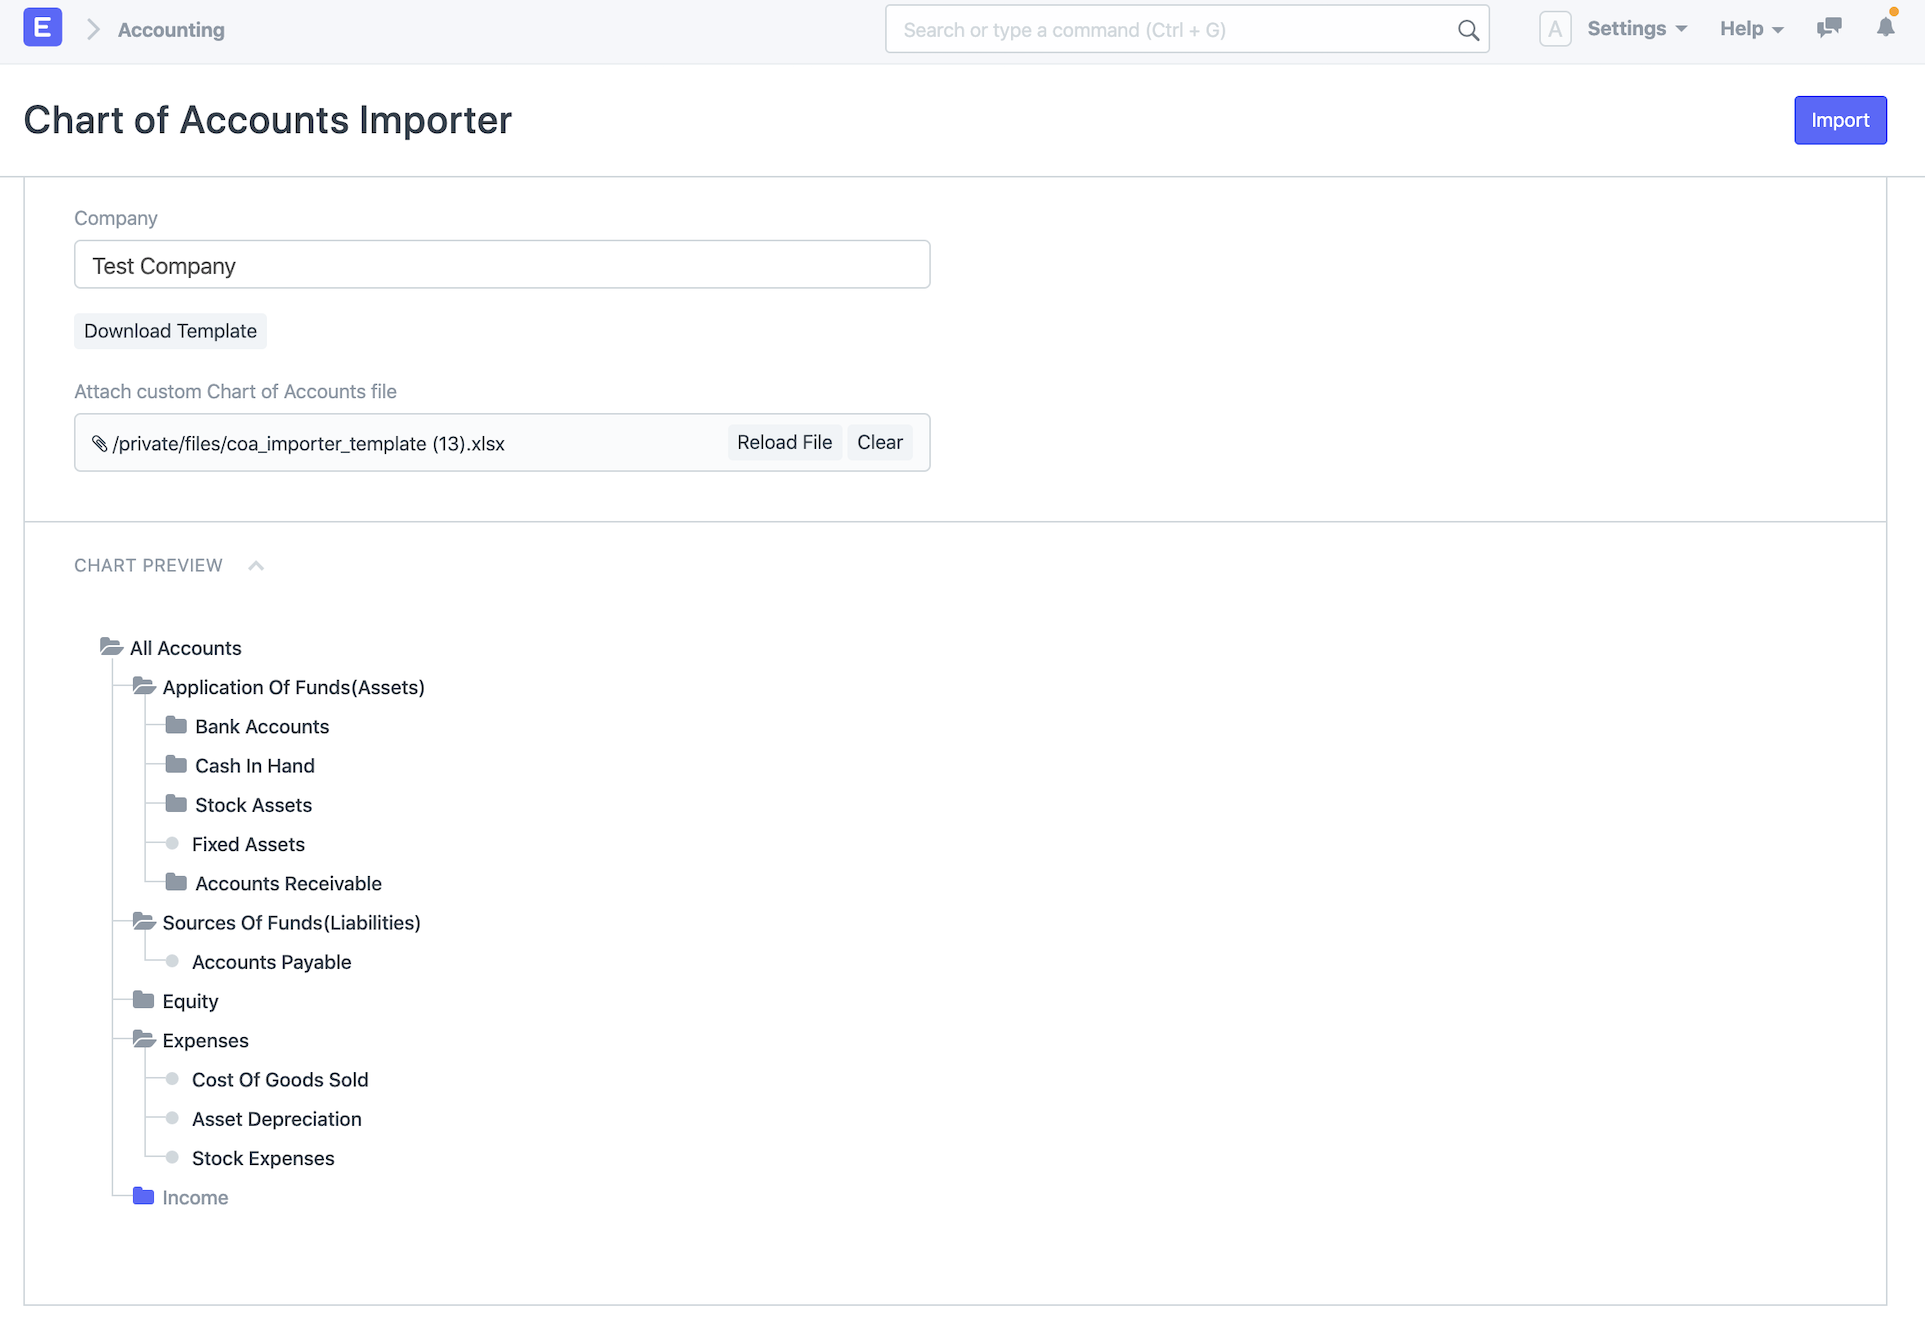
If everything seems correct in the preview, click on "Import" in the top right corner and the accounts will be created.

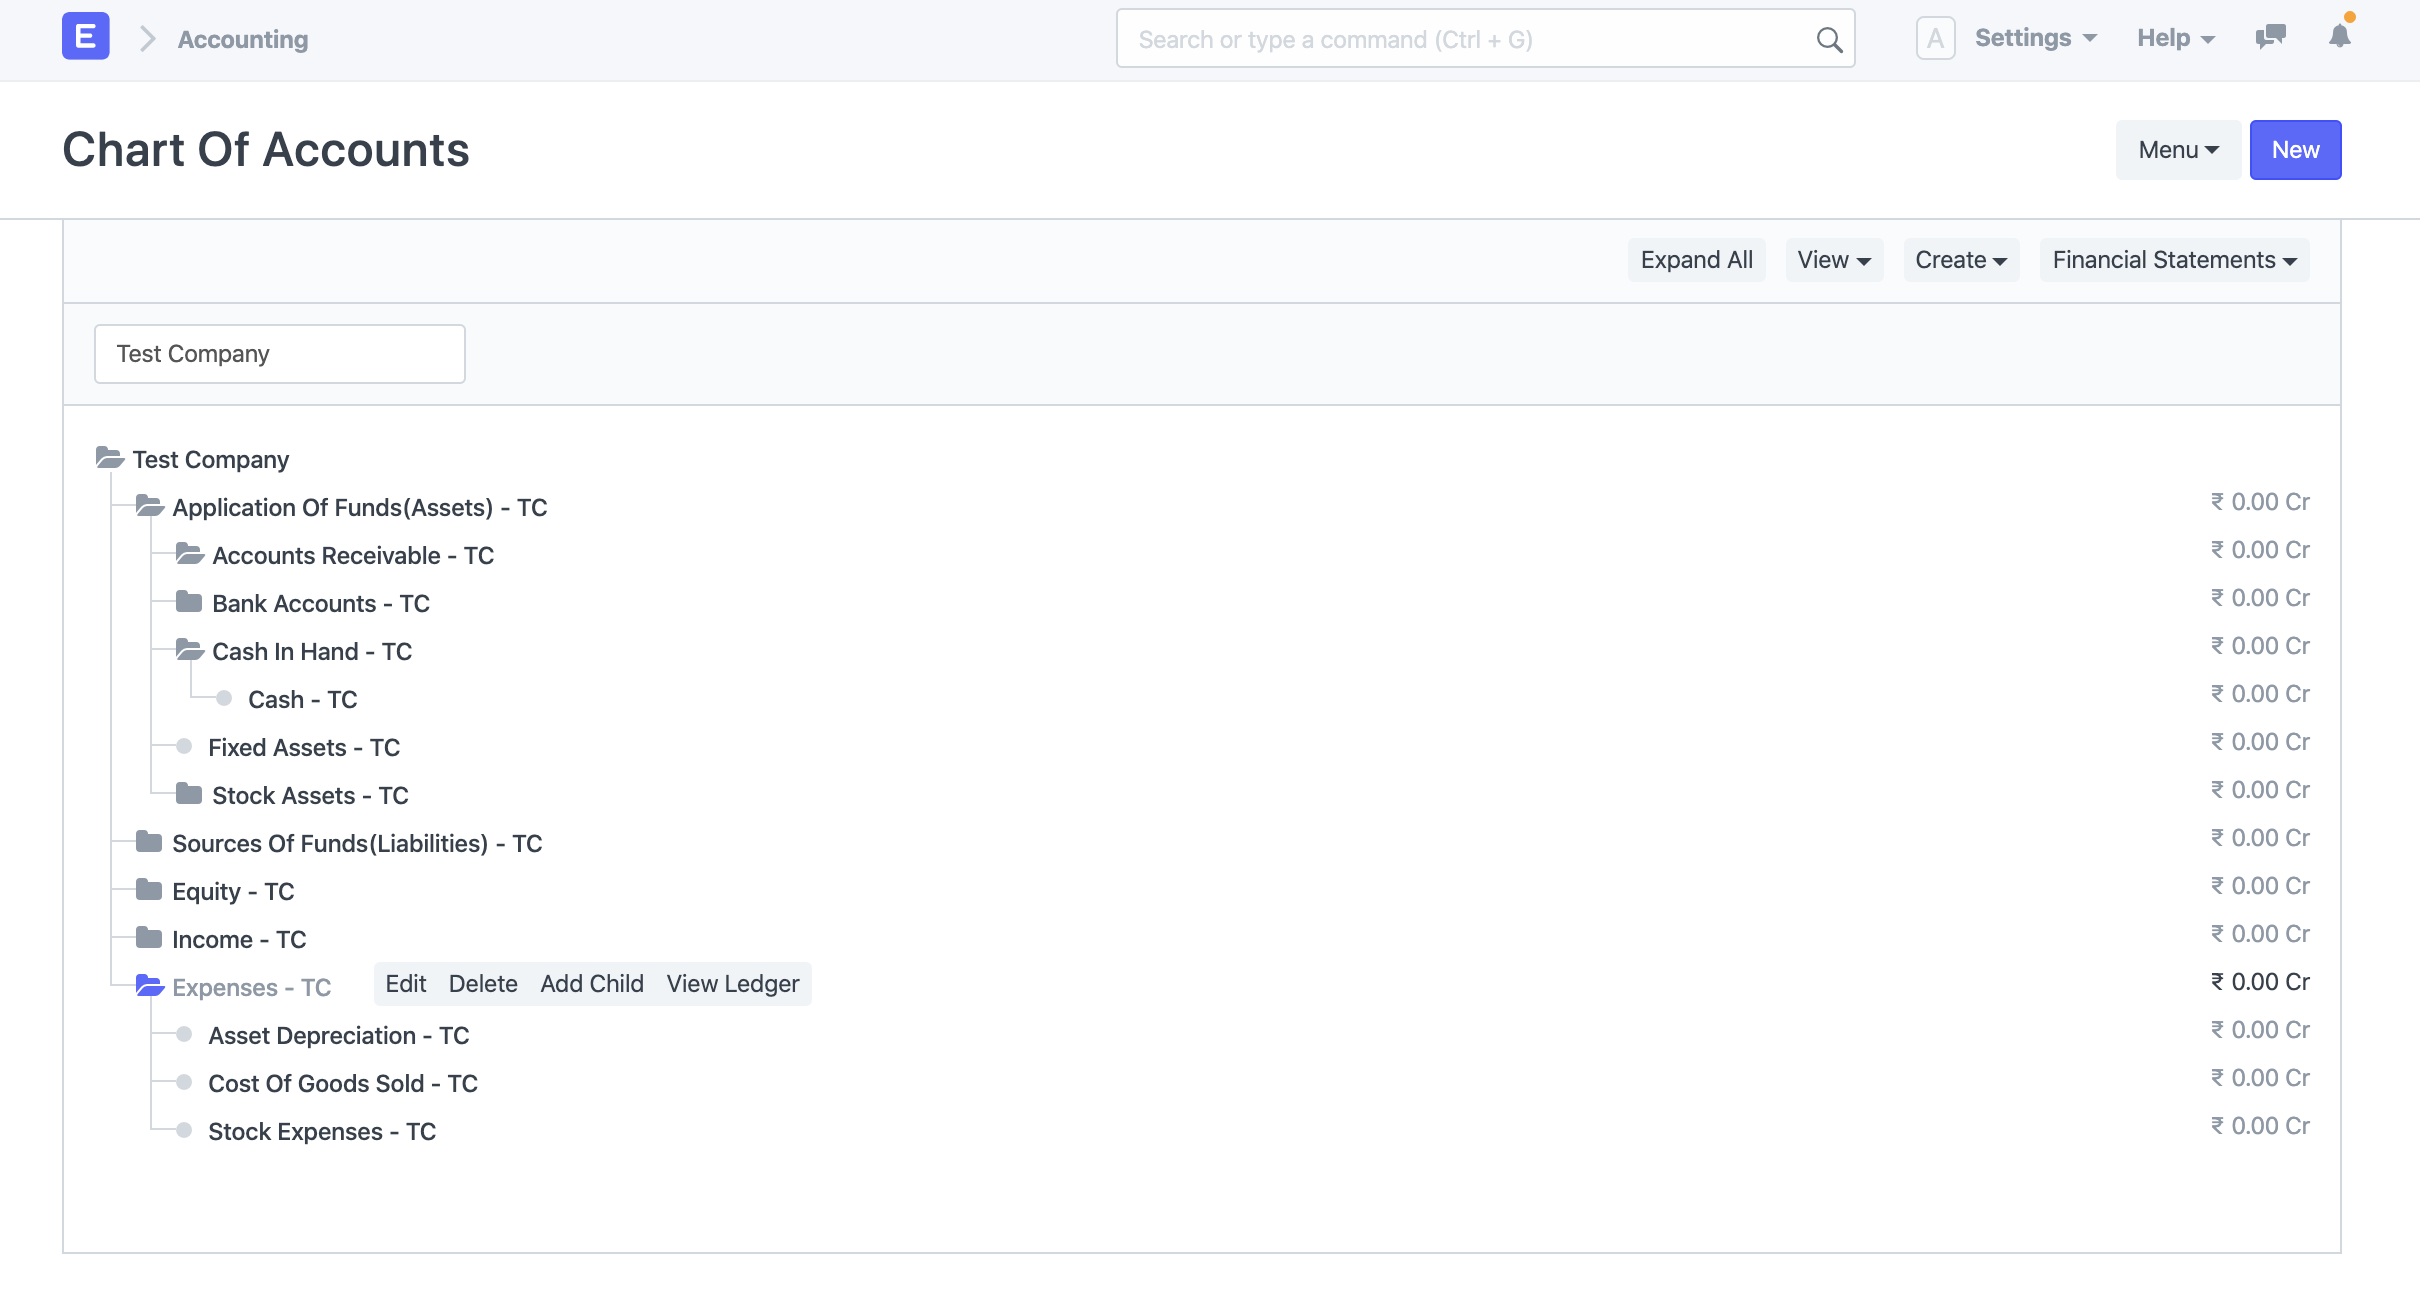
To verify the created accounts you can go to Chart of Accounts and see the newly created accounts for that company.
