Quality Inspection
In ERPNext, you can mark your incoming or outgoing products for Quality Inspection.
To enable this feature go to:
Home > Stock > Tools > Quality Inspection
1. Prerequisites
Before creating and using a Quality Inspection, it is advised that you create the following first:
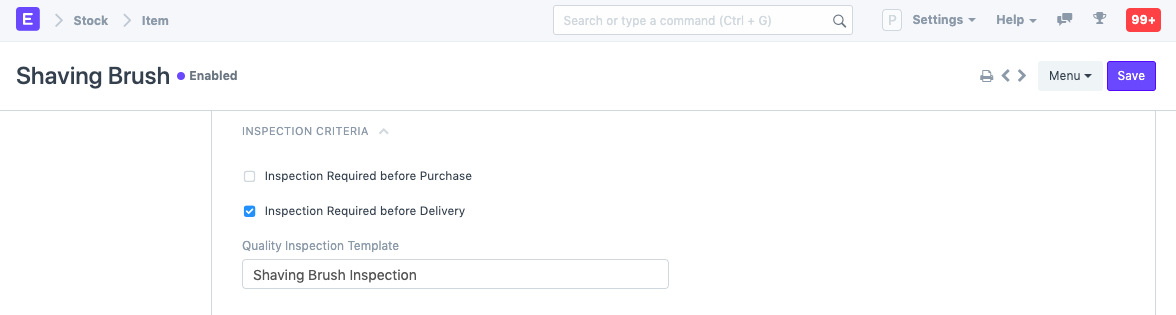
- Item
- Enable Quality Inspection Criteria in the Item master:
2. How to create a new Quality Inspection
- From a Purchase Receipt/Delivery note in the Draft stage, go the Item table's Quality Inspection field and click on Create a New Quality Inspection.
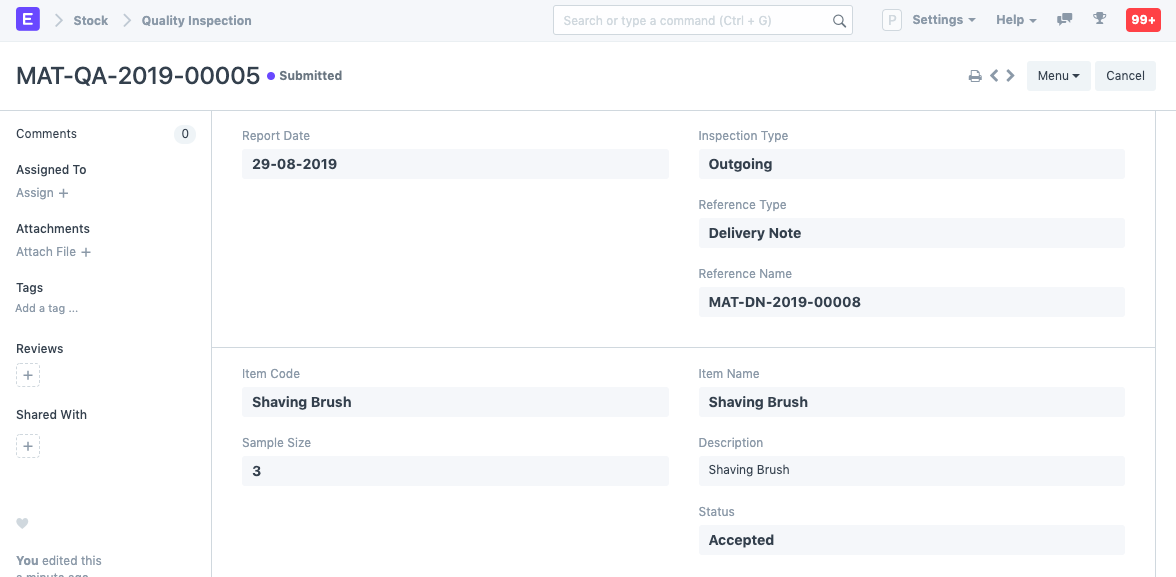
- Select the inspection type whether Incoming (Purchase), Outgoing (Sales), or In Process (Manufacturing).
- Select the Reference document type whether Purchase Receipt, Purchase Invoice, Delivery Note, Sales Invoice, or, Stock Entry.
- Select the Item and set the sample size which will be inspected. Note that only Items for which Inspection Criteria is enabled in the Item master will be fetched.
- The Quality Inspection Template set in the Item master will be fetched.
- You can change who it's inspected by and also add who it's verified by.
- Any additional Remarks about the Inspection can be added.
- Save and Submit.